
How to send Signals
How to send Signals
Step 1: Select your artist and song
Artist Accounts:
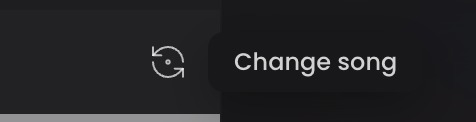
- Click on the Change Song icon in the top-left sidebar of the platform, to search for a new song in your discography. You can search by song title or input your Spotify Track ID.
Label Accounts:
- Click on the Artist Name linked in the top-left sidebar, to select the preferred Artist. You can search by song title or input your Spotify Track ID.
Step 2: Review your Track Features
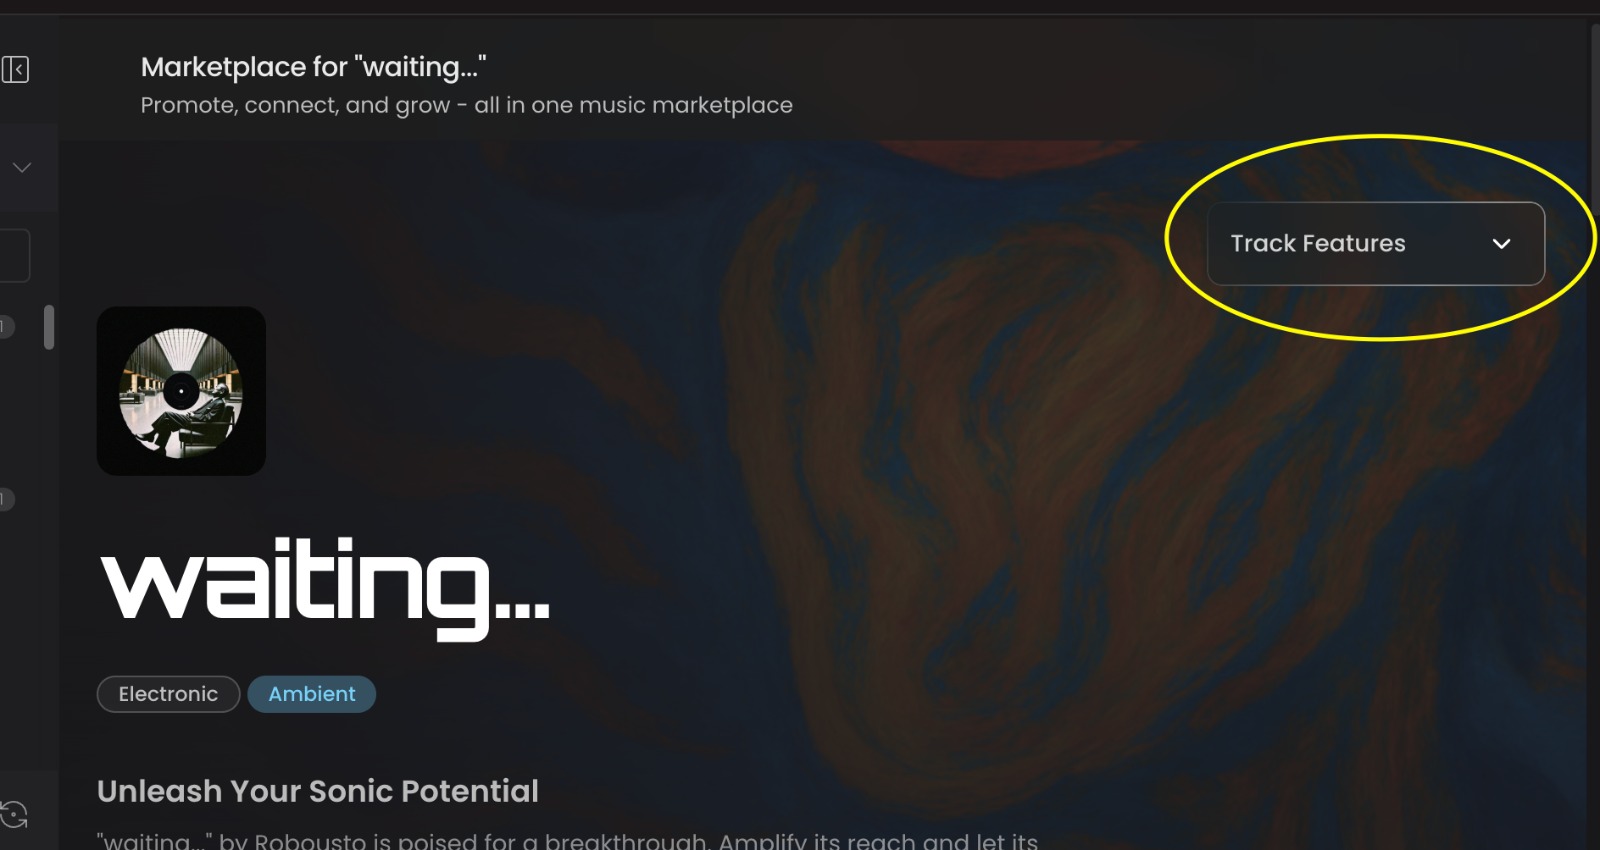
In the top-right of your Signals marketplace, you will find a Track Features settings tab. Here you can edit the global track features for this specific song, which will be used across all channels and all Signals.
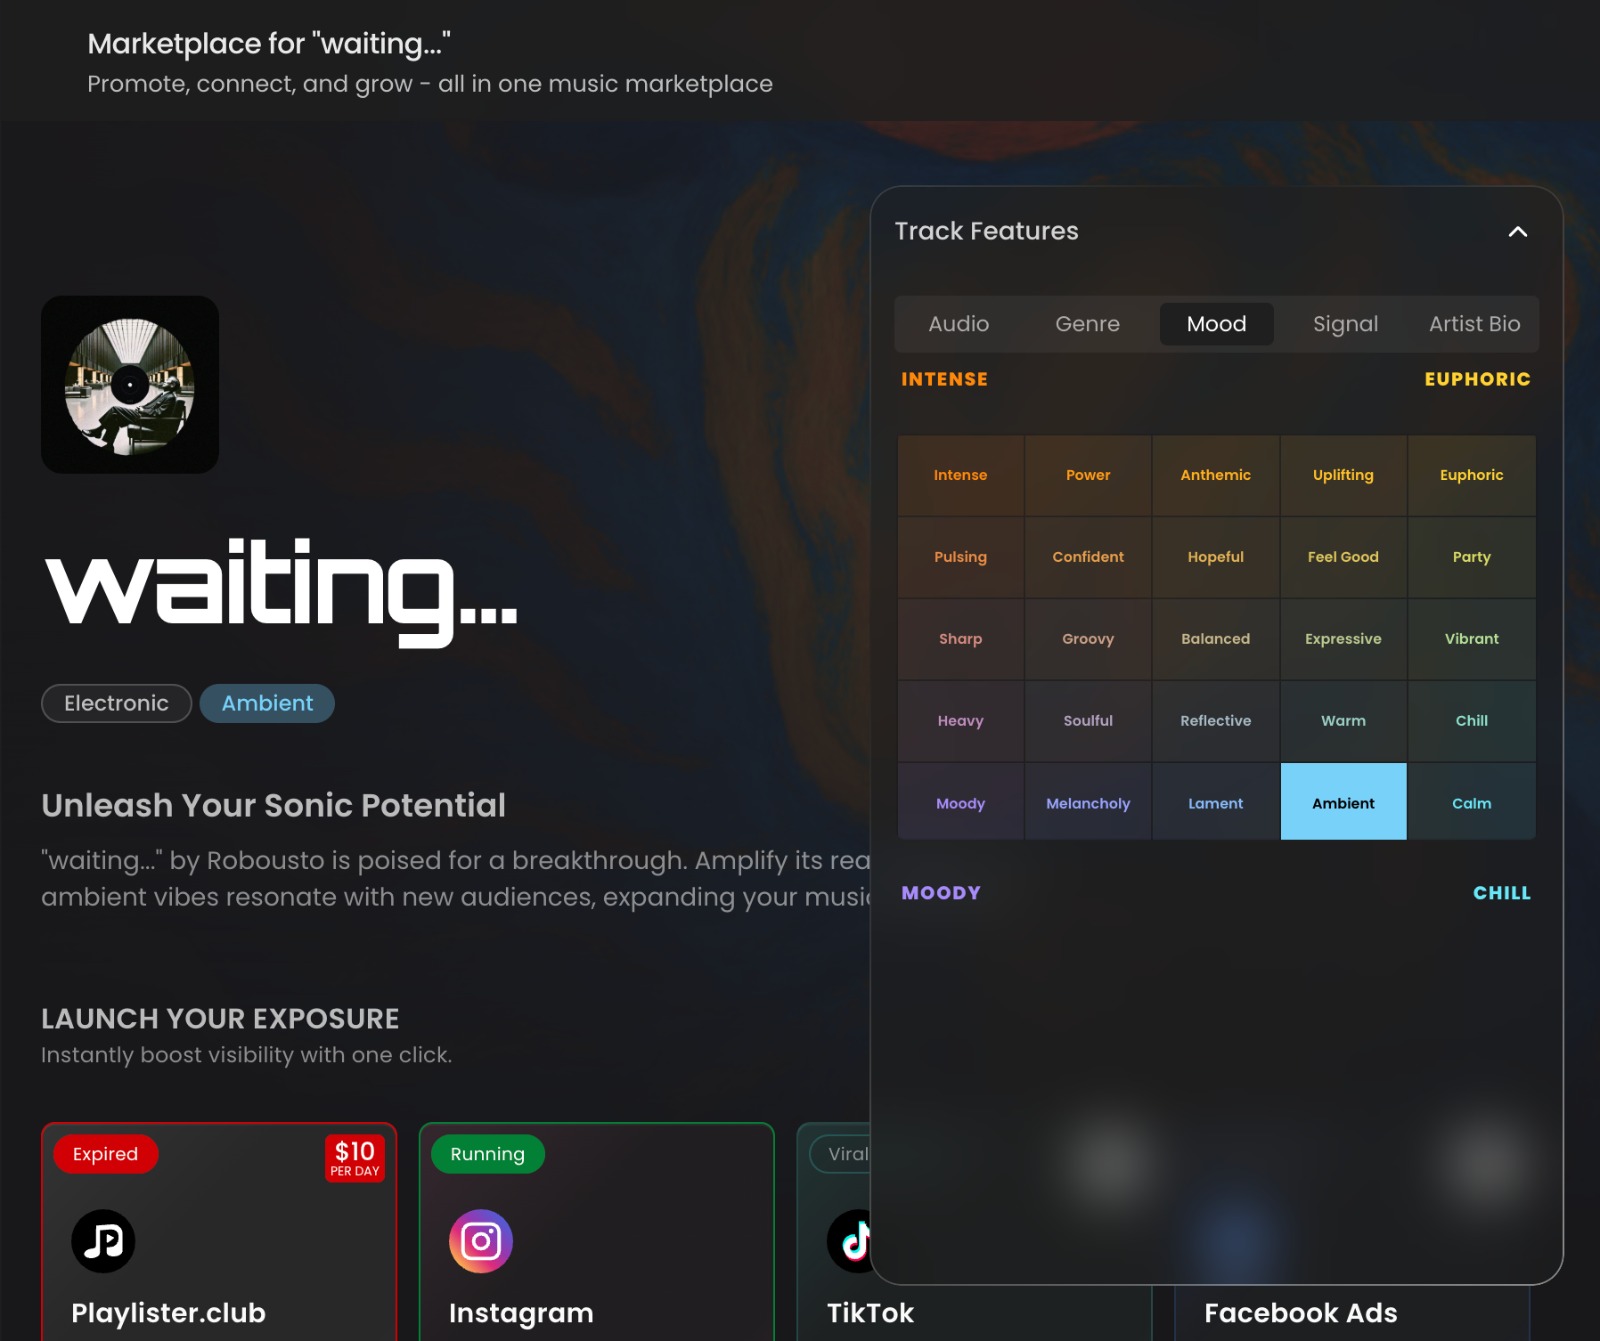
By opening this section, you can edit things like:
- 30-second audio preview: The preview that will be played for playlisters and used in your ads.
- Genre: The overarching genre tag used to match your song within our system.
- Mood: The secondary mood tag used to build custom bundles and Signal recommendations for your song.
- Signal: The video or written message you can save to your song and send to all bundles and playlists within Signals, so you don’t have to re-record your message each time you want to send a Signal.
- Artist Bio and Profile Information: The information used to generate your Artist Profile, which gives playlisters a full picture of who you are and your story, alongside the Signal you create.
Step 3: Browse opportunities
Explore bundles, premium playlists, and channels in the marketplace.
Step 4: Add opportunities to your Wishlist
Save the opportunities you want.
Step 5: Fund your wallet
Buy enough credits to cover the items you want to send.
Step 6: Add your Signal
You may be prompted to:
- use a written message
- record a video
- reuse your default video or create a custom one for a specific playlist
Step 7: Confirm and send
Before sending, users are shown the signal terms, including refund conditions and the response window.
